Metal roofing is gaining popularity among homeowners and business owners alike, thanks to its durability, energy efficiency, and modern aesthetic. Whether you’re planning a home improvement project or a roof replacement, understanding the process of metal roof installation can help you make informed decisions.
Step 1: Preparation
Before beginning any roofing project, proper preparation is key.

- Remove Existing Roof: The old roof, including shingles, underlayment, and any damaged decking, must be removed.
- Inspect and Repair Roof Deck: A thorough inspection ensures the roof deck is free from rot or water damage. Repair or replace any compromised areas to create a solid foundation for your new metal roofing.
Step 2: Install Underlayment

Underlayment is a critical step in any roofing installation.
- Water-Resistant Barrier: A high-quality water-resistant underlayment is applied to protect the roof deck from moisture, enhancing the longevity of your metal roof installation.
Step 3: Install Flashing
Proper flashing ensures your roof is watertight.

- Seal the Edges: Flashing is installed around chimneys, vents, and other roof penetrations to prevent leaks. This step is vital for maintaining the integrity of your metal roofing system.
Step 4: Install Metal Panels
The metal panels are the heart of your new roofing system.

- Start at the Bottom: Installation begins at the bottom edge of the roof, working upward to ensure proper alignment.
- Secure the Panels: The panels are fastened securely to the roof deck using screws or nails designed for metal roofing.
- Overlap the Panels: Overlapping panels create a watertight seal, which is crucial for preventing leaks and enhancing durability.
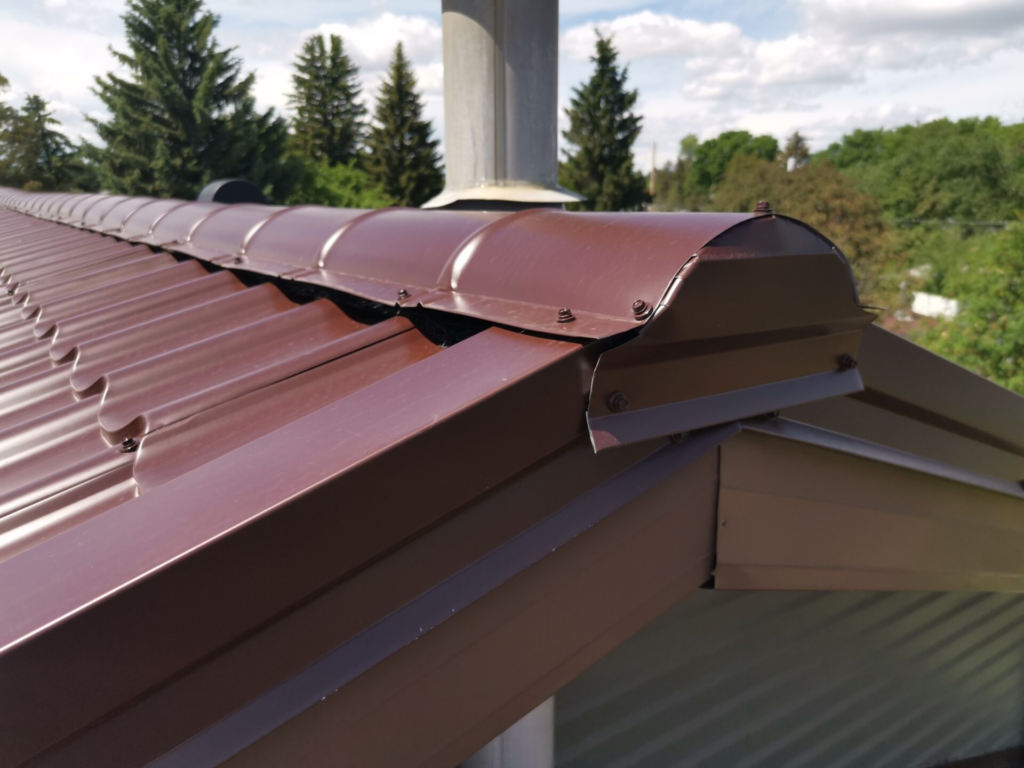
Step 5: Install Ridge Cap
The ridge cap is the finishing touch for your metal roof.

Protect the Ridge: Installed along the roof’s peak, the ridge cap shields this vulnerable area from weather elements, completing your roof replacement with precision
Why Choose Metal Roofing?
If you’re considering roofing options for your next home improvement or home renovation project, here’s why metal roofs stand out:
- Durability: Metal roofs can last 50 years or more, outlasting many other roofing materials.
- Energy Efficiency: By reflecting sunlight, metal roofing helps keep your home cooler in summer, reducing energy costs.
- Low Maintenance: Unlike traditional roofing materials, metal roofs require minimal upkeep, making them a cost-effective choice.
- Style Options: With various colors and styles available, metal roofs can enhance the curb appeal of any home.
Can You DIY a Metal Roof Installation?

While some DIY enthusiasts may be tempted to take on a metal roof installation, it’s often best to leave this job to a professional roofing contractor. A skilled roofing company ensures your metal roof is installed safely and correctly, preventing costly mistakes down the road.
Ready to Upgrade Your Roof?
If you’re ready to invest in a durable, energy-efficient metal roof, trust Roofing Tech for all your roofing needs. Whether you need a roof repair, roof replacement, or full metal roof installation, our experienced roofing contractors are here to help.
Contact us today to learn more about how we can make your next home improvement project a success!
